It has been over three months since I published my Smoked Brisket blog and I haven’t had any BBQ entry to date (not that I’ve been actively blogging lately). But as I said, I’ll be lurking around BBQ groups, constantly getting ideas, visualising and waiting for the right moment. And by “right moment” I mean, a relatively warm day/night because let’s face it, winter isn’t BBQ weather.
Then came the Australian Father’s Day. It was a rainy weekend but I couldn’t wait any longer, I just had to smoke something (and I mean meat 😉 ). Having had some success on the brisket, I thought it’s time to give the beef ribs another shot. Yes, I already tried and failed thrice – so much for “third time’s a charm.”
Before we start with the process, a couple of things:
Equipment(s)
Something important to note which I may have missed out from the brisket blog is that, slow smoked meats are best done in a smoker, which I do not have. And according to other BBQ enthusiasts, there’s what they call a Pellet Smoker which actually makes smoking meats a lot easier.
Hold on, if it makes things easier, then we don’t want it, do we? There’s a reason why we don’t have spam on our birthdays despite everyone loving it. But okay, I’ll be honest, I’m secretly saving up for that pellet smoker thing. 😀
Back to the topic. For this, I used the Weber Touch Master 57. If you want to know more about this BBQ, check out my previous blog here. It’s no smoker but it does the job.
Another accesory I used is the Weber iGrill 2, but any bluetooth probe will do. This comes in real handy for monitoring not just the meat’s internal temperature, but the BBQ’s radiant heat as well.
The Meat
One of the few lessons I’ve learned is that, meat matters. Not an expert on meats as well but the trick is to buy from a butcher whenever you can, not from a grocery store. This is one of the things I’ve done differently this time around and could be the main catalyst for the much better outcome.
The Process
The process of making slow smoked beef ribs is similar to the brisket with just a few exceptions – we’ll cover those in the sections ahead.
Let’s get straight to it!
Remove the fat cap and silver skin
With briskets, we leave a bit of the fat cap on. With ribs, we remove the fat and the silver skin underneath it. You might want to Google a “How to” if you haven’t done this before.

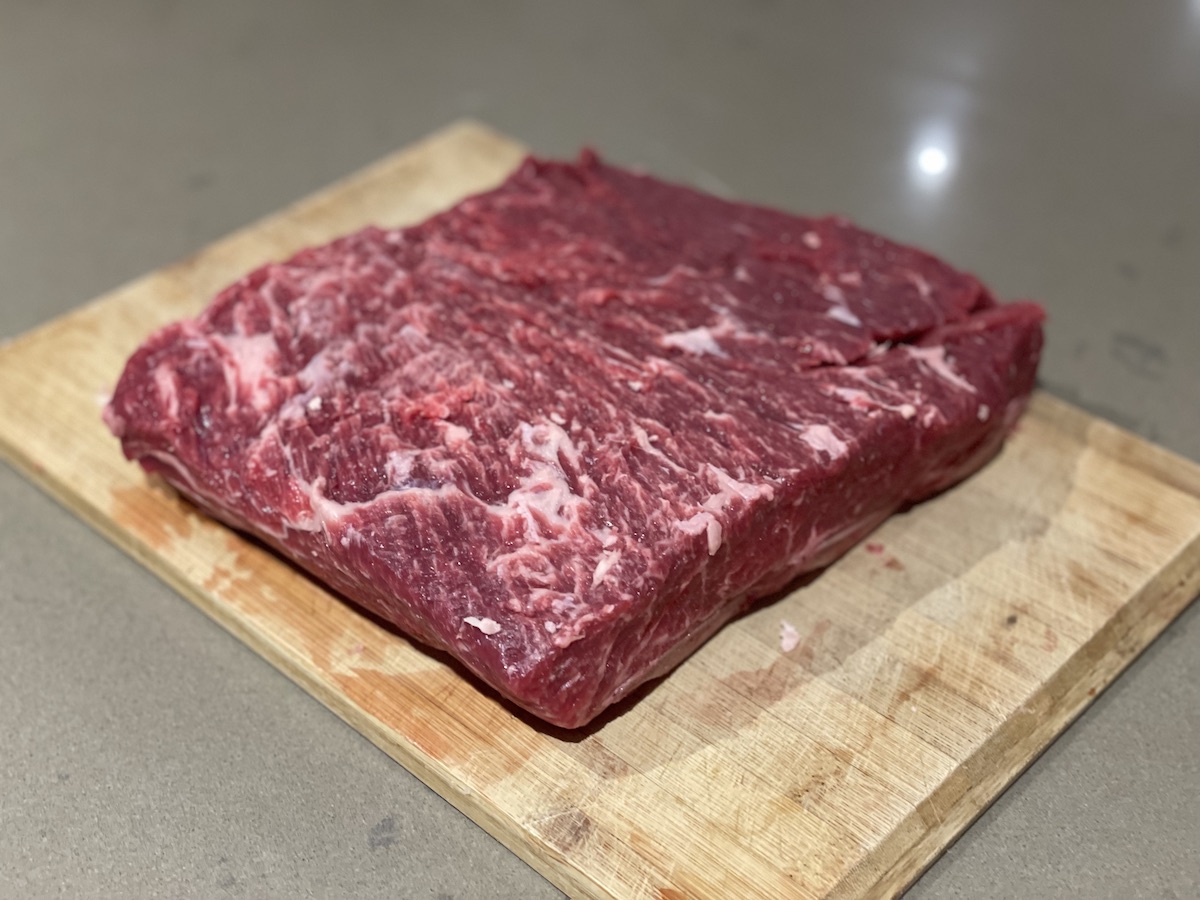
Apply the rub
Again, with Texas style BBQ, it’s just salt and pepper. For this one though, I used two of Meatchurch’s rubs – Holy Cow and The Gospel. I remember the Holy Cow being too salty on the brisket so I wanted to balance it out. That’s the good thing about these rubs, you are free to mix and match.

Fact: Meatchurch is a Texas-based company that specialises in BBQ dry rubs.
Prepare the coals and start the fire
While giving the rub a few minutes to settle, we can now start to make our “snake” and light up a few coals. Depending on the weather, you may need a “fatter snake” than usual. It was a 7°C morning (3am) and a 3-briquette thick snake did the job.


Notice that the 2nd photo does not have the smoking wood? We’ll put it back when it’s time to chuck the meat in (just wanted to snap a photo with the setup). At this point, we’ll put the lid back on and wait for the guage to hit 225ºF or around 120ºC.
Meat in
After about an hour, we’ve hit around 100ºC. It can take a while so if you want it to go faster, just start with more coals. When it reached the target temperature, I lowered the air intake to 50% and the top vents to around 50% as well. That setting gave me a steady temperature on a 7ºC weather.
I spritzed twice with apple cider vinegar and water solution before heading back to bed. Yes, don’t worry, you can sleep. 🙂
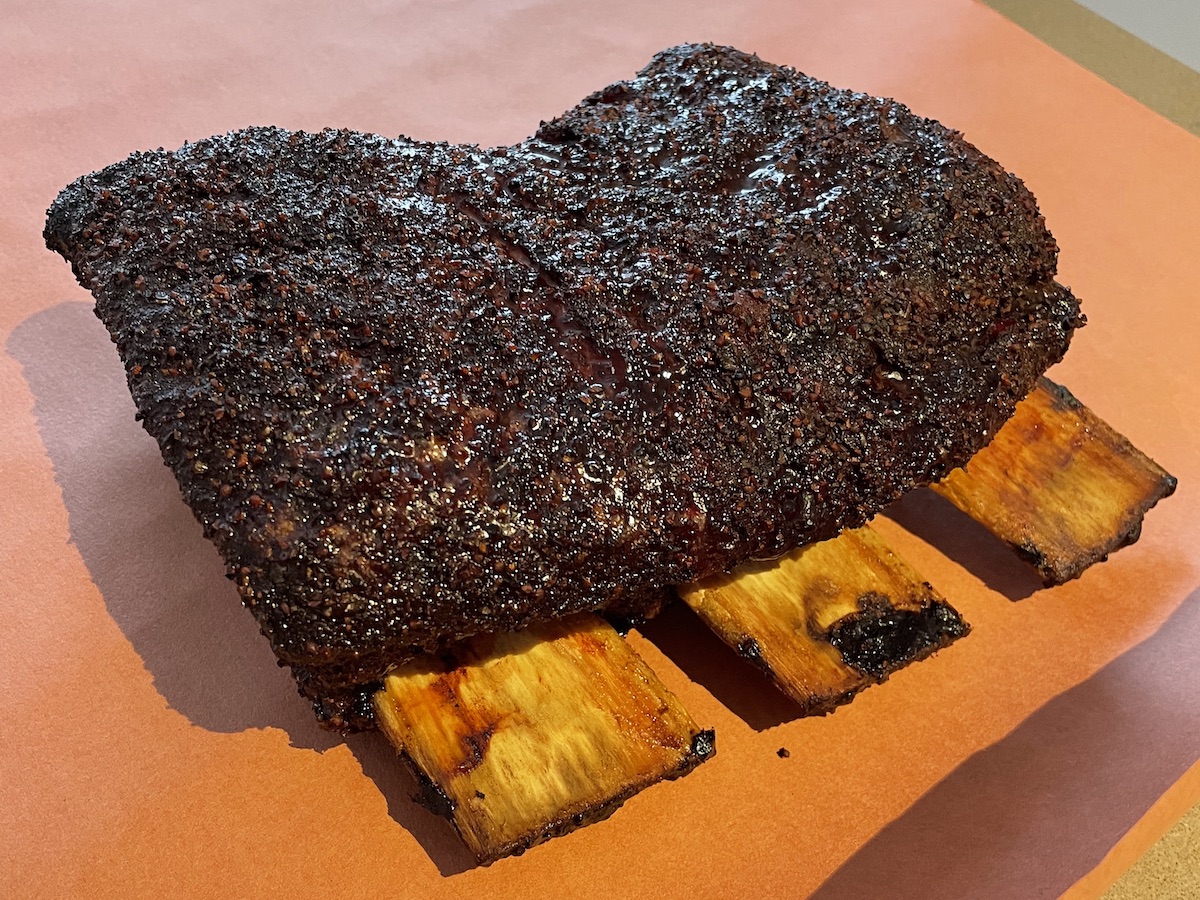
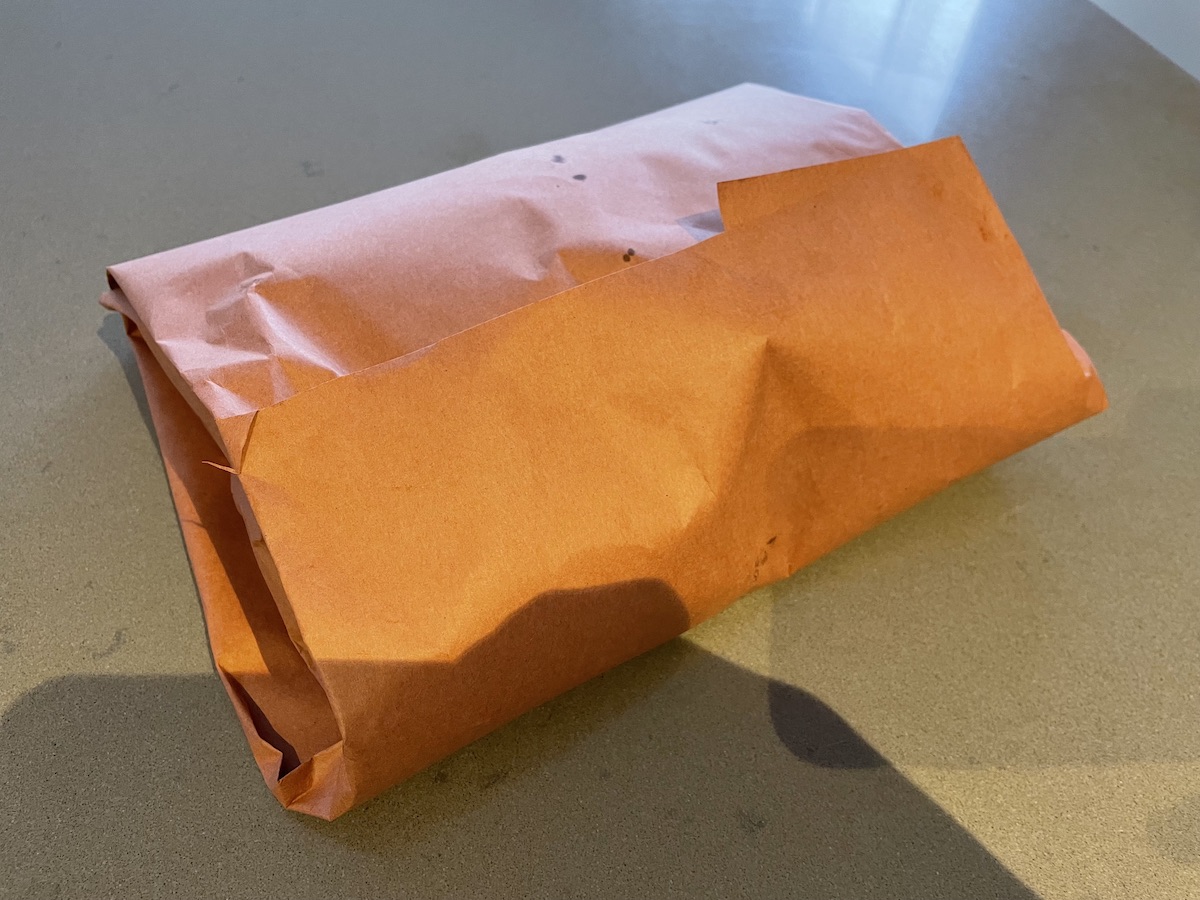
Wrap
After 6 hours, it’s time to wrap. They call it the Texas crutch. This is a preference thing, but the idea of wrapping is to avoid getting it too dry and also to shorten the stall time. Some want to have the maximum bark so they don’t wrap at all. Again, it’s just preference.
You can choose to use foil but the downside is, it will soften the bark due to the trapped steam. If I’m not mistaken (forgive me if I’m wrong), I think the legendary pitmaster, Tootsie, uses tin foil. Mere mortals like me should not question Tootsie and the likes. 😀
Meat back in
After wrapping the ribs, we’ll have to put it back in until it’s “probe tender,” as they say. It means, if you poke/pierce it with a probe (thermometer), it should feel like butter. I don’t trust that though, I set my target internal temperature to 91ºC – 96ºC.
At some point, I ran out of coals so I had to finish it off with my Weber Spirit (gas). If you’re wondering about the outcome, I don’t think it matters that much at this stage. Smoking is only critical at the very early stages of the cook, say first 30 minutes.
Then again, I won’t argue if someone says it compromises some of the flavour. I can, however, assure you that I can smell the hickory by the end.
Rest
Unfortunately, I had to pull it out at 88ºC, just a few degrees below the target. I was getting hAngry.
I let it rest for about 45 minutes before slicing. Again, it’s best to rest it in a cooler/eski to avoid a sudden drop in temperature.


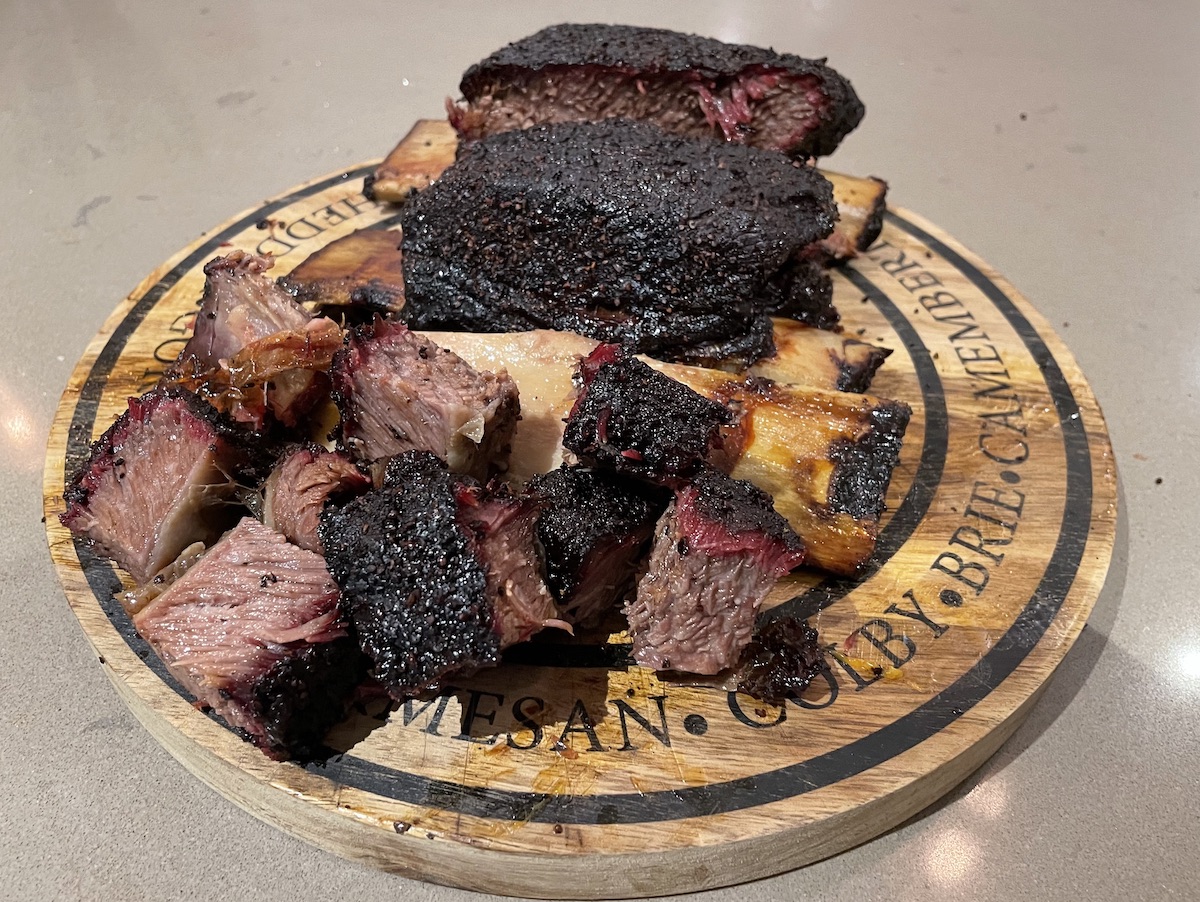
Serve
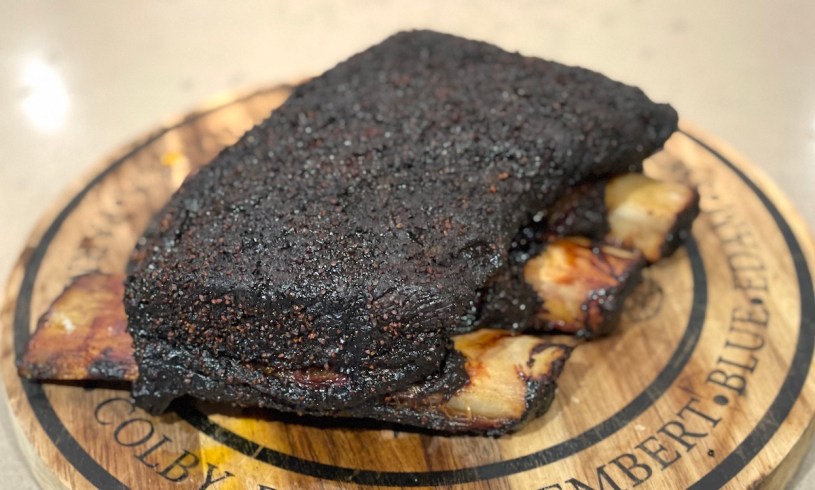
There are two ways to serve this, you can either chomp straight off the bone in the most macho way ever (feel free to throw in some broken glass and snake venom like El Macho), or you can pull the bone off, slice ’em and dice ’em. Suit yourself.
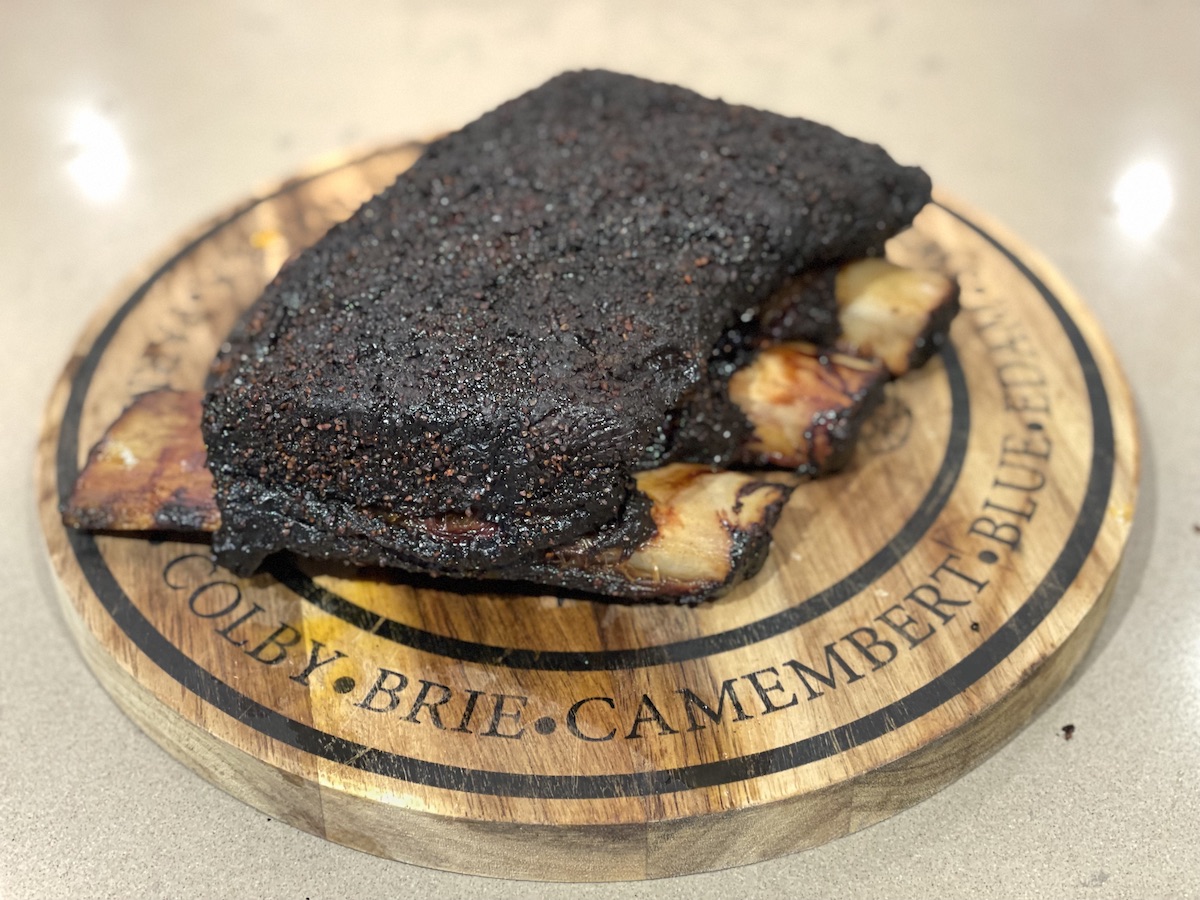

The Verdict
Let’s start with the bark. For starters, that’s the black thing that looks burned. It’s actually crunchy and probably the tastiest part (that’s all the seasoning after all). We got that crunch part, and the combined Meatchurch rubs worked really well. ✔
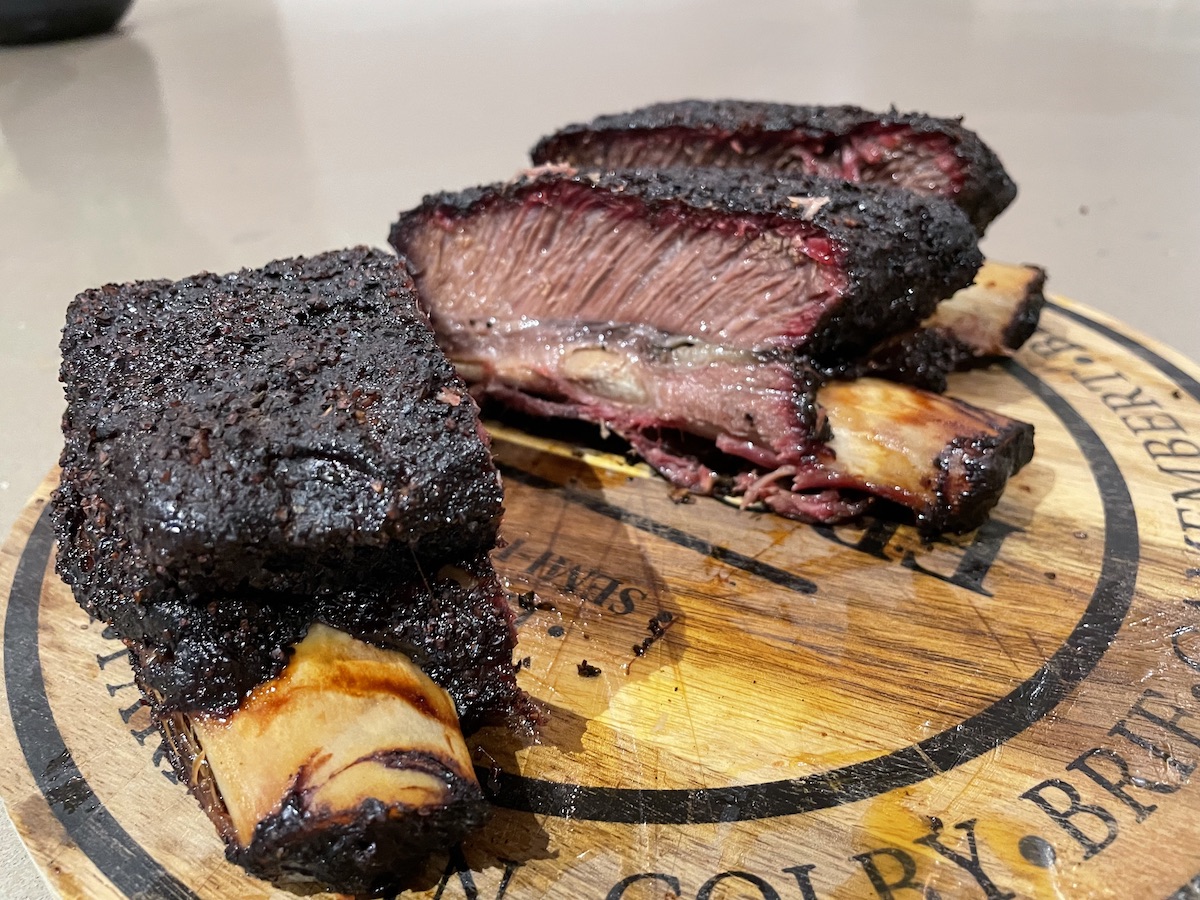
Next, right underneath that bark is that pink thing. They call it the “smoke ring.” There have been debates on whether it adds flavour or not. Whatever that is, people in forums tend to use it for bragging rights. We nailed that as well. ✔
Then we got the meat in the middle. It was juicy and tender, can’t complain. I do know that I can still make it better though. The others I’ve seen look jiggly and that would be the goal. This has some room for improvement but I’m really happy with it. Let’s put a check to that. ✔
What else can I say? This is the best I’ve done so far. Then again, I still haven’t checked out a legit smoked ribs or brisket. And by legit I mean, something from a BBQ restraurant (doesn’t have to be in Texas for now). That would be the only way to guage this.
Although, given the time I’ve spent reading other people’s works through blogs and forums, I can almost taste it in my head, and this one feels right.
Most importantly, the missus likes it, the daughter said it was good – I’ll take that. 🙂
Cook Summary
Total cooking time took 14.5 hours.
BBQ temperature’s at a constant 120°C give or take.
Final internal meat temperature’s at 88°C (a little lower than the target).
Here’s a rough timeline:
2:00 am – Meat Prep
2:30 am – Charcoal setup and pre-heating
4:00 am – Meat in (cooking starts here)
10:00 am – Wrap
6:30 pm – Rest
7:15 pm – Slice and serve
Conclusion
This Texas style BBQ is simple and complicated at the same time. At its very core, you’ll only need three ingredients – salt, pepper and beef. Yet people get it wrong (I’m no exception) – safe to say that it’s also complicated to some degree.
Anyway, this has been a rewarding feat, I can say that it was all worth it. It’s something you wouldn’t want do on a regular basis because it’s not the most efficient, it’s not good for the heart, and definitely not good for scales. 😀
Let us all welcome the Aussie Spring, pull that BBQ out of the shed and give this one a go. 😉
