When building a path around your house, concrete is always the best option. Not only does it give your slab some protection, it also helps minimise ground movement. However, the plain old concrete looks a little too.. plain. And I’m not very comfortable working with concrete either — can’t afford to make mistakes on an area this size.
Anyway, these pavers are only for the 7-meter section next to our dining and living room windows. Thought we’d make it look a little interesting. And besides, I always knew it’s going to be a really fun project. I will be honest though, this one’s taxing, so make sure you eat your broccoli and don’t skip on your 25 push ups challenge. 🙂
Let’s get down to business!
Materials
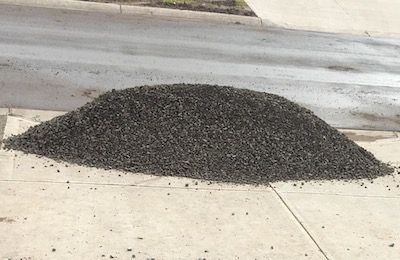
Crushed rocks – this will lay the foundation, the very first layer. Most garden supply shops have this.
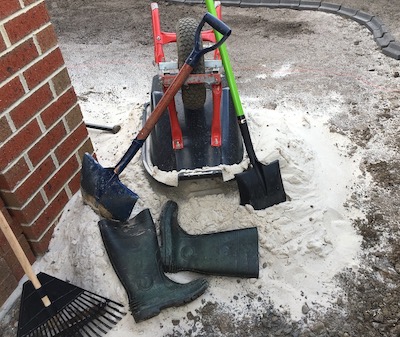
Paving sand – the 2nd layer. This will give our pavers a smooth and even bed to lay on. And yes, I can’t find a decent photo. 🙂
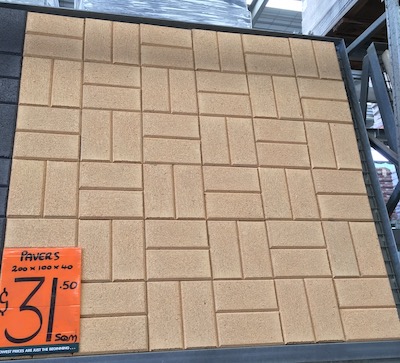
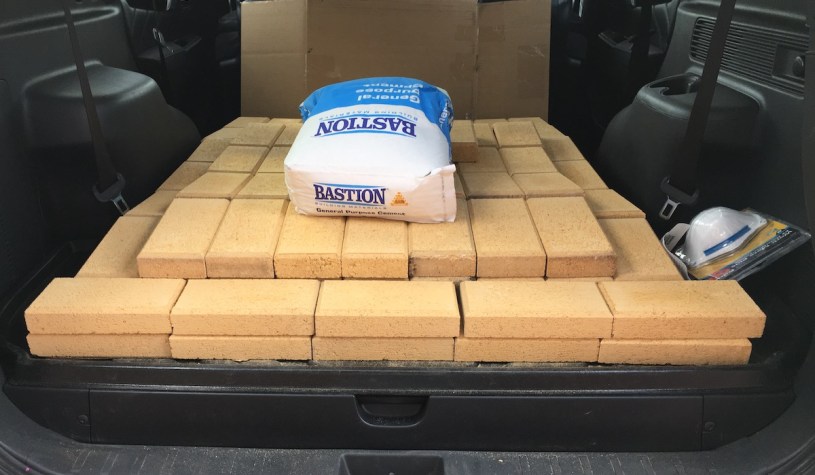
Pavers – they come in various colours, shapes and sizes. Shop around and see what you like. Here’s what I used: link
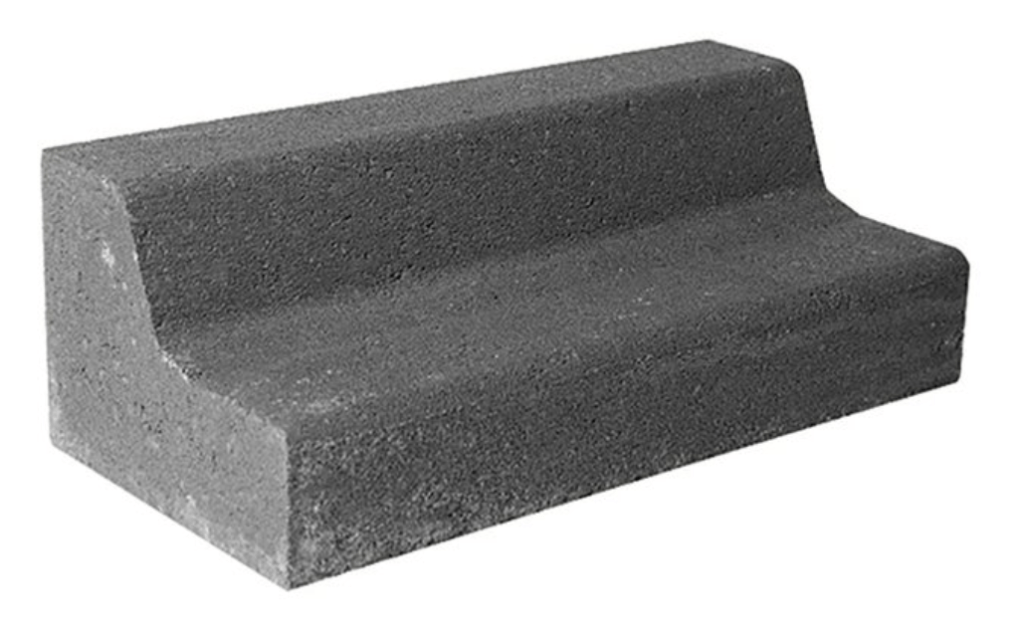
Edging – This will be the borders for the garden bed. Credits to Bunnings for the photo. Here’s the link.
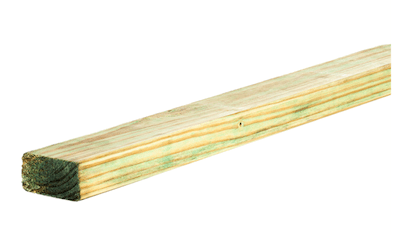
Timber – this will draw our borders and will keep all of the above materials intact. Make sure it’s treated pine. Credits to Bunnings for the photo. Here’s the link.
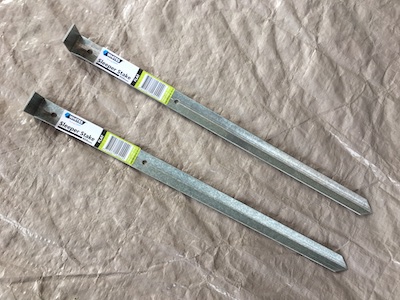
Stakes – these will hold the timber in place. You’ll need timber screws for this — galvanised. Here’s the link.
Steps
I did this 3 years ago (2017), lucky I found the photos in my HD. I wish I could have given you more details but hey, sometimes it’s best to keep things simple. 🙂
Here you go:
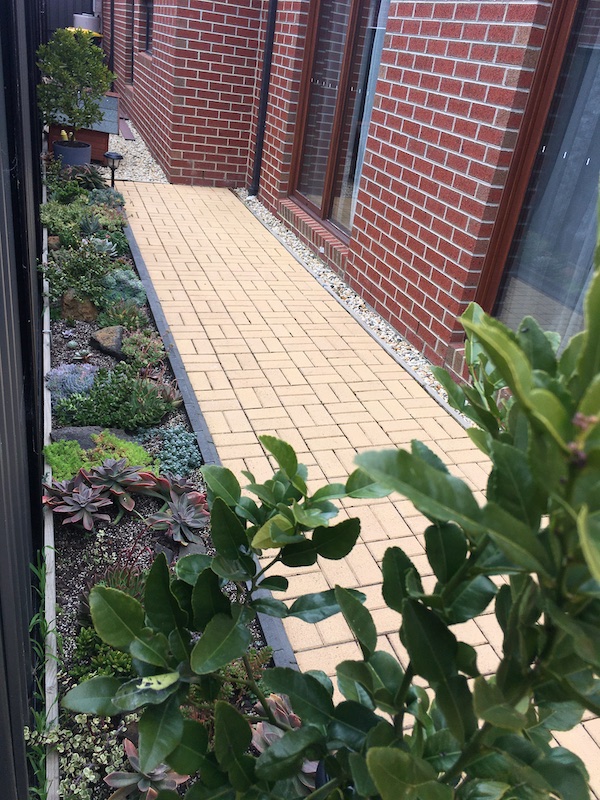
How’s the build quality?
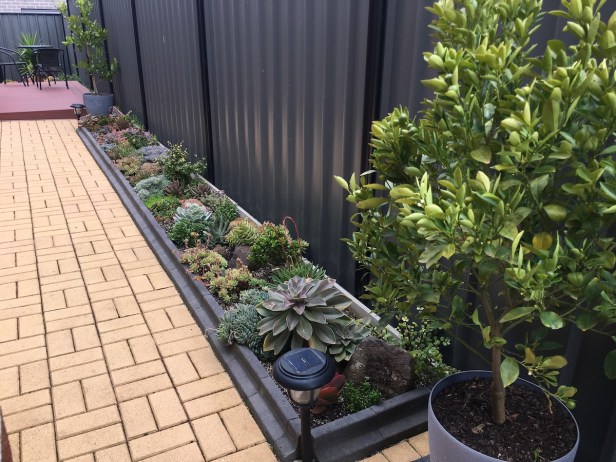
The only way to know if we’ve built this right is if it lasts a few years without much warping. So it’s been 3+ years now and it still looks good as new. The pavers are still intact, no movement when you walk or jump on it. Pretty impressive considering it’s just literally sitting on sand. It has much to do with preparing the base, you’ll need to get that one right.
The plants also look like they are thriving. I’d say it’s all worth the sore muscles and some bruises after this project. 🙂

Helpful Tips
- Logistics – depending on how many pavers you’ll need, this is something you have to plan. I had 550 bricks for this and ended up taking 3 trips to Bunnings. These bad boys are heavy. Also, imagine loading up 550 bricks, and unloading them when you get home — just a heads up. 🙂
- Foundation – make sure to use a tamper or a motorised compactor on the crushed rocks. You can hire it from Bunnings. If the foundation is not done right, your pavers won’t hold up for long. You’ll get an uneven surface in no time due to ground movement.
- Give a bit of a slope away from the house. We don’t want any rain water seeping through anywhere near the slab as much as possible. Use a spirit level.
- In screeding the sand, you’ll need to make screeder to ensure you make a good level. I made one with a timber and 2 screws. The idea is that, the screws at the ends of screeder will glide through the timber borders while you screed, giving you the right depth and an even surface.
- You’ll feel some movement during the first few days. Don’t stress, it will settle down in about a week. Don’t be scared to walk on it. Mine is over 3 years old, feels very solid.
That’s about it. Have fun!
