Here’s how I built a retaining wall + planter box using timber sleepers and Whites Retain-it posts.
This solved a few problems in one go:
- Stopped soil erosion from a sloped yard
- Created a proper planter box (no more pots everywhere)
- Added a clean seating ledge for BBQ days
No fancy tools required. Just time, effort, and a bit of digging.
Project Snapshot
- Difficulty: Medium
- Time: 1–2 days depending on size
- Cost: Depends on layout (posts + sleepers + concrete)
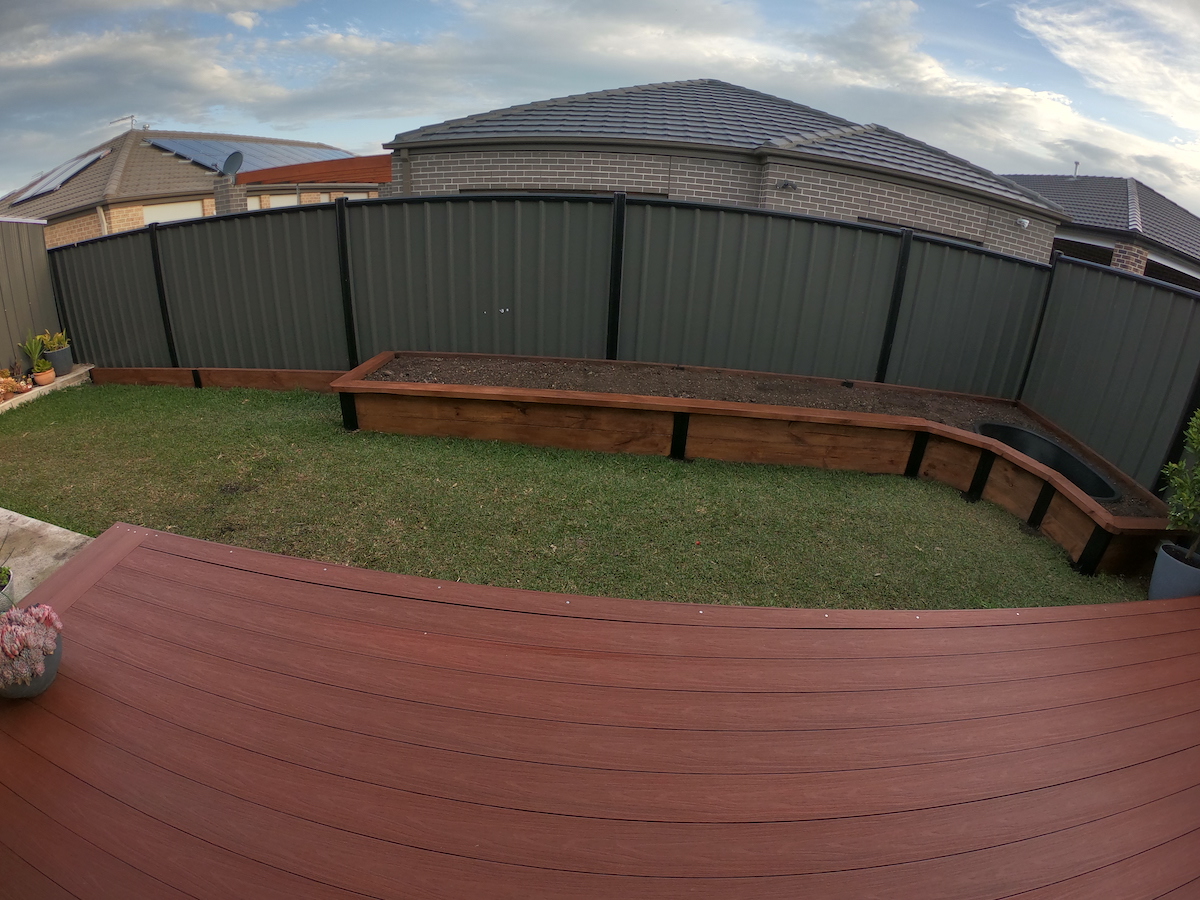
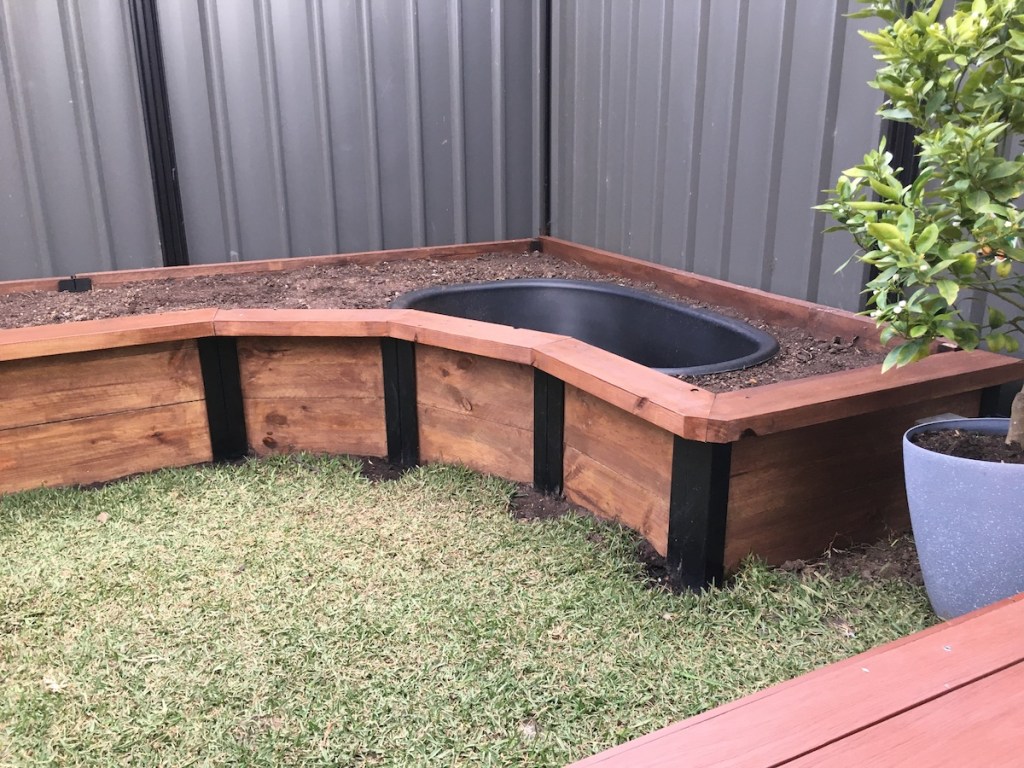
What the final build looks like
- Timber sleeper retaining wall (2–3 levels high)
- Integrated planter box along the fence
- Optional timber capping for seating
Steps
Step 1: Set your first post
- Dig your first hole (deep enough to support ~2 sleepers above ground)
- Place the Retain-it post in position
- Do NOT concrete yet (you’ll adjust this later)
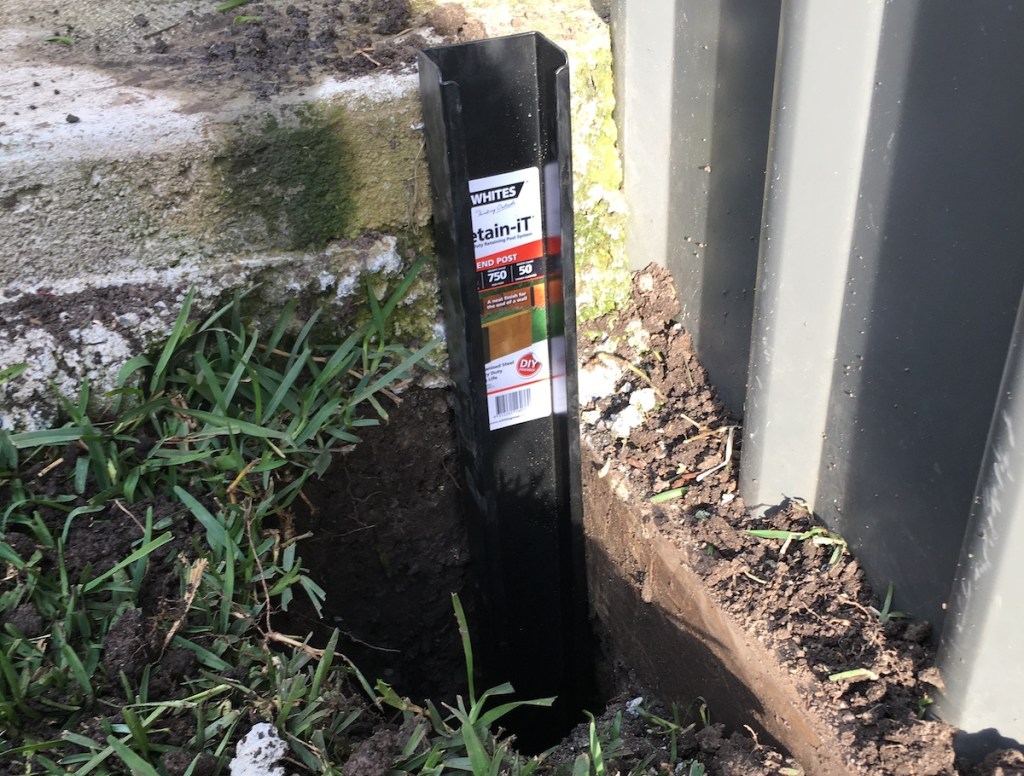
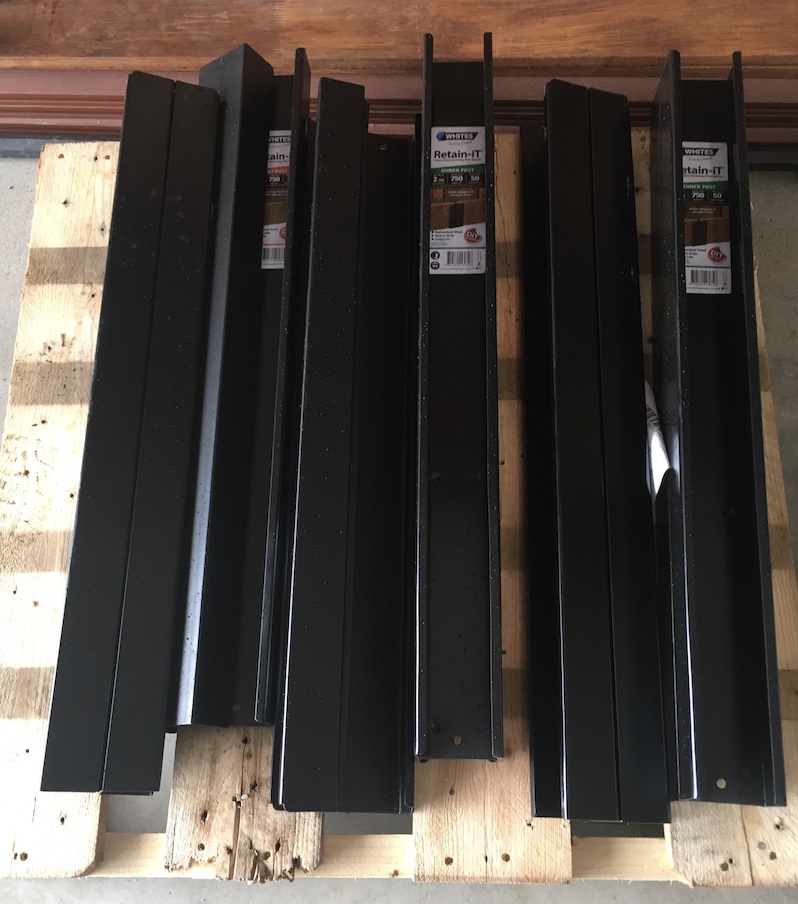
This comes in 3 different types: End posts, Corner posts, and Joiner Posts. I used all types for this project.
I also used varying lengths – 1100mm (3 sleepers high) and 750mm (2 sleepers high).
Depending on how big and how complex your design is, you’ll have to spend some time planning. Draw if you can.
2. Treated Pine Sleepers
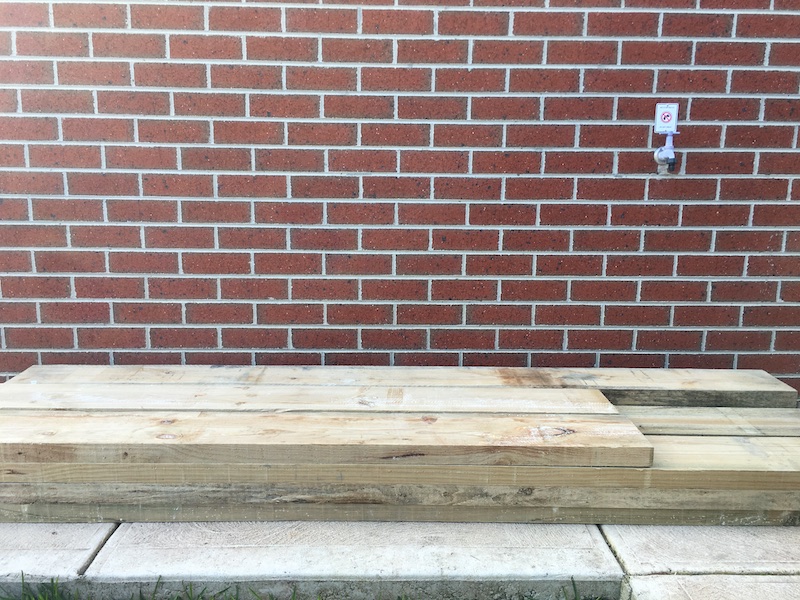
Make sure it’s treated pine H4, suitable for outdoor use.
I used 50mm thick treated pine sleepers.
The sleepers come in 1.8m, 2.4m and 3m lengths. I personally think 3m is too long – could be more prone to bending/warping. The closer the posts, the better.
3. Fast-setting Concrete
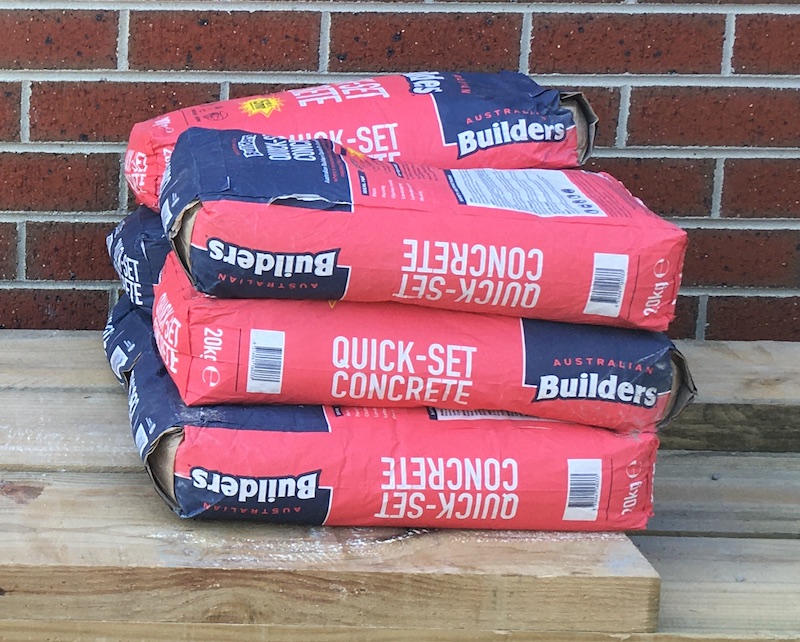
The normal concrete would be fine but if you have a relatively big project, you’d want to use the fast-setting one.
Steps
Since you already have your materials, I will assume that you have done your measurements, you’ve planned your layout, and have done your estimates.
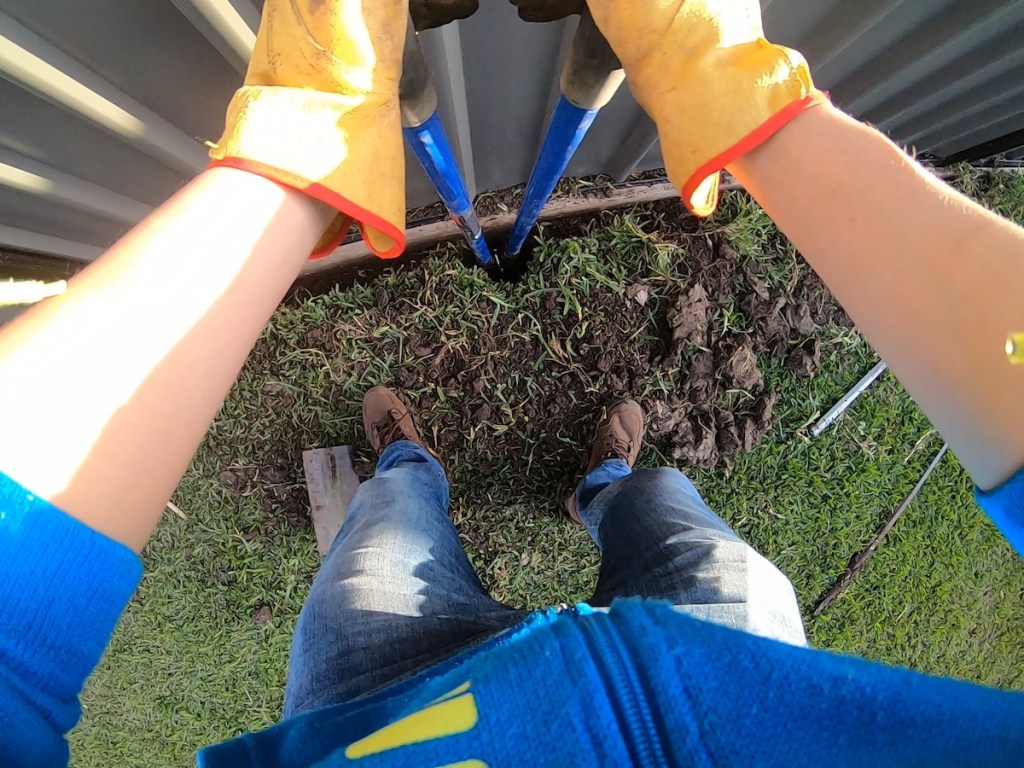
Time to get our hands dirty. Literally!
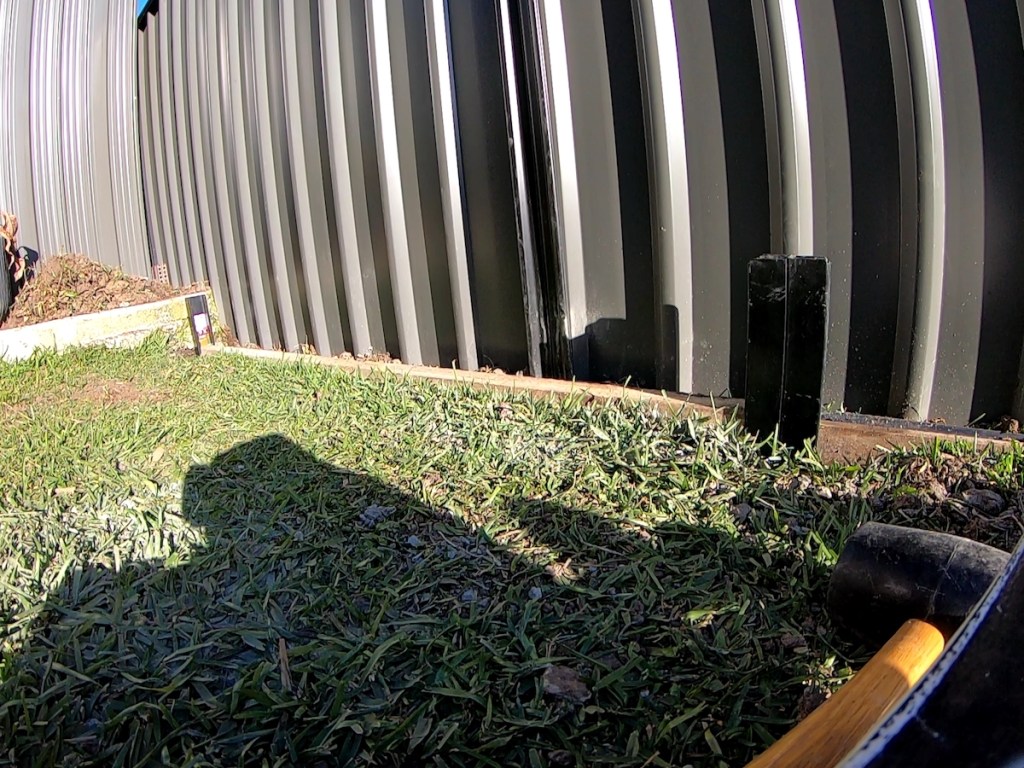
Dig the 1st hole
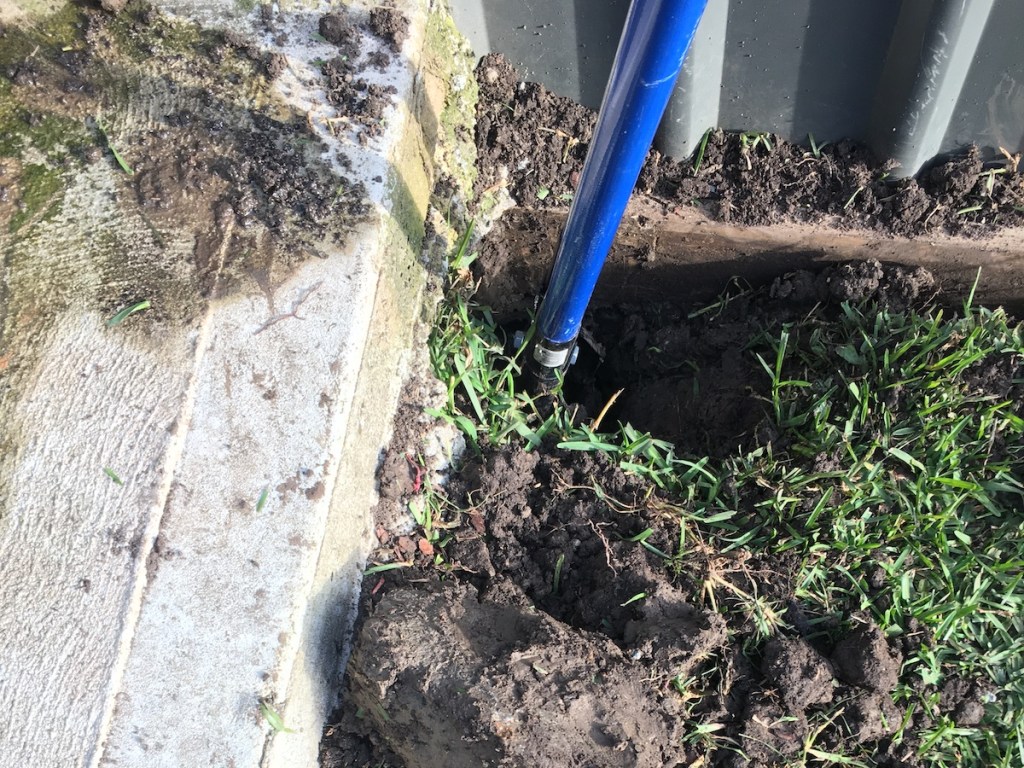
Put the first Retain-it post in position
Dig a trench
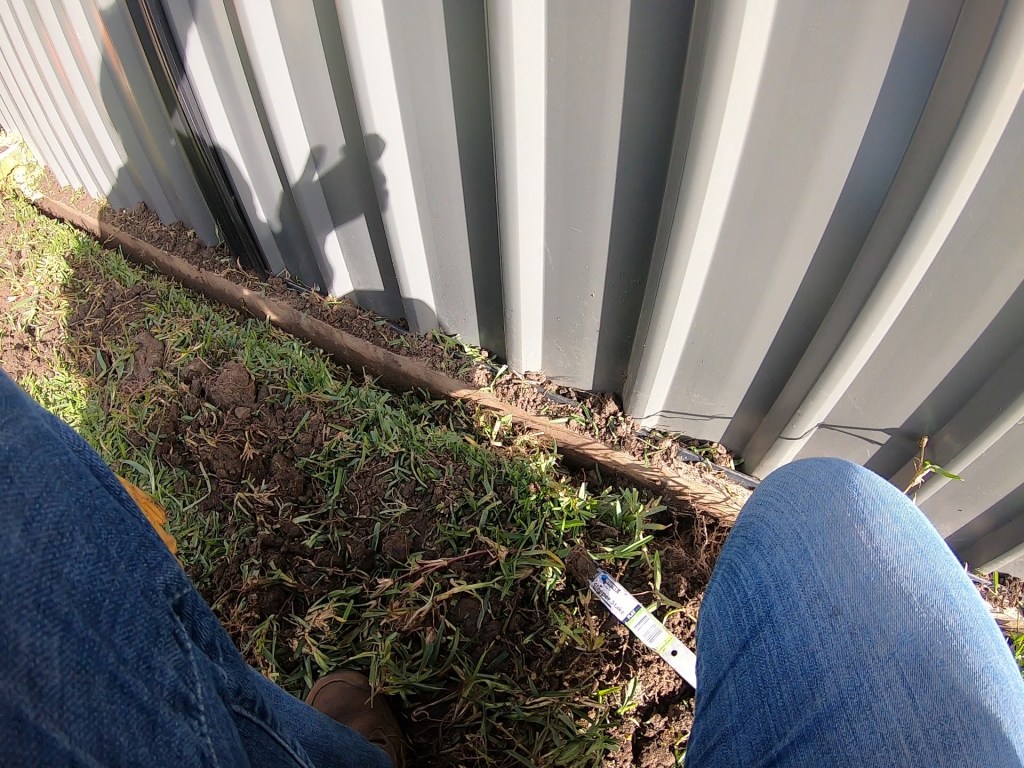
Put the timber in position
Dig the 2nd hole
Pour concrete on the first hole

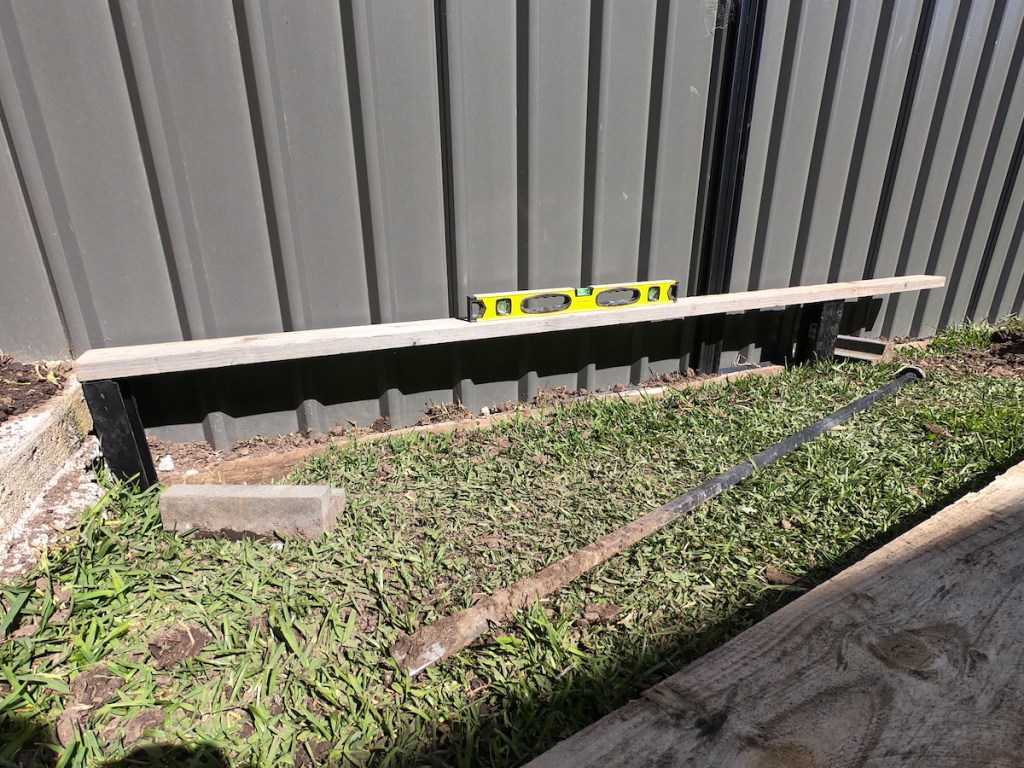
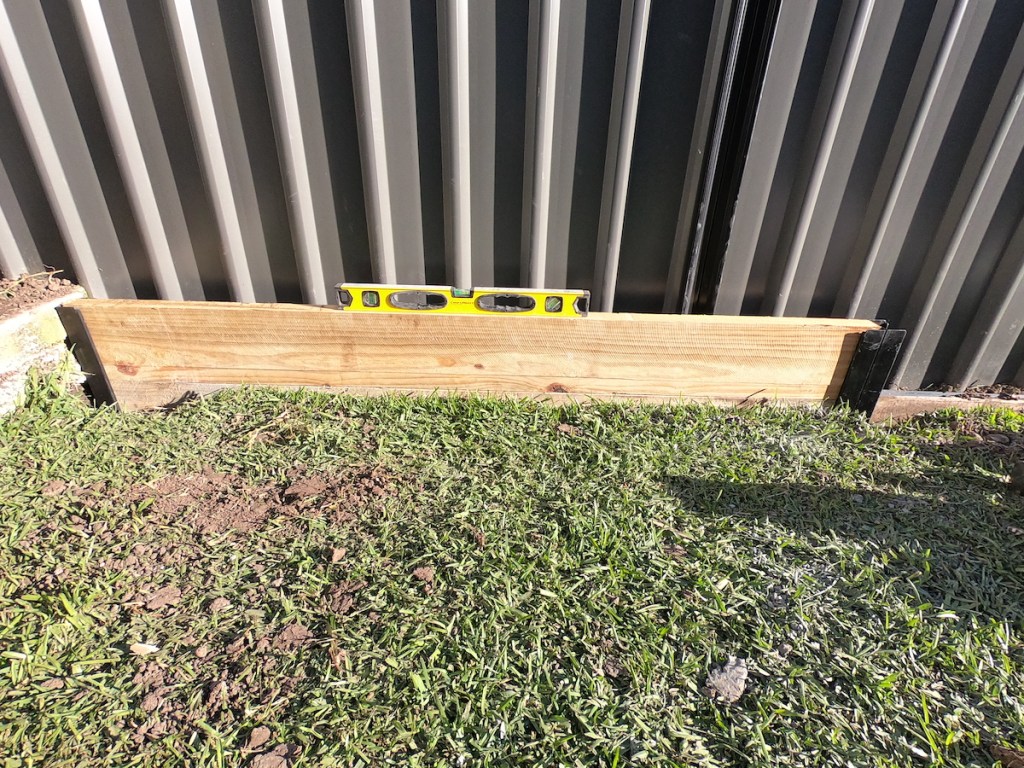
Level the 2 posts
Slide the 1st sleeper in and pour concrete on the 2nd post
Slide in the next sleeper
DONE!
That’s about it. You have all the skills now, you can build anything — a bridge, a tunnel, Great wall of China, you name it!
At this point, it’s just a matter of repeating all those steps until you are done. Much like copy-paste — as a former software developer and currently, a BA, I was born with it, moulded by it! 😀
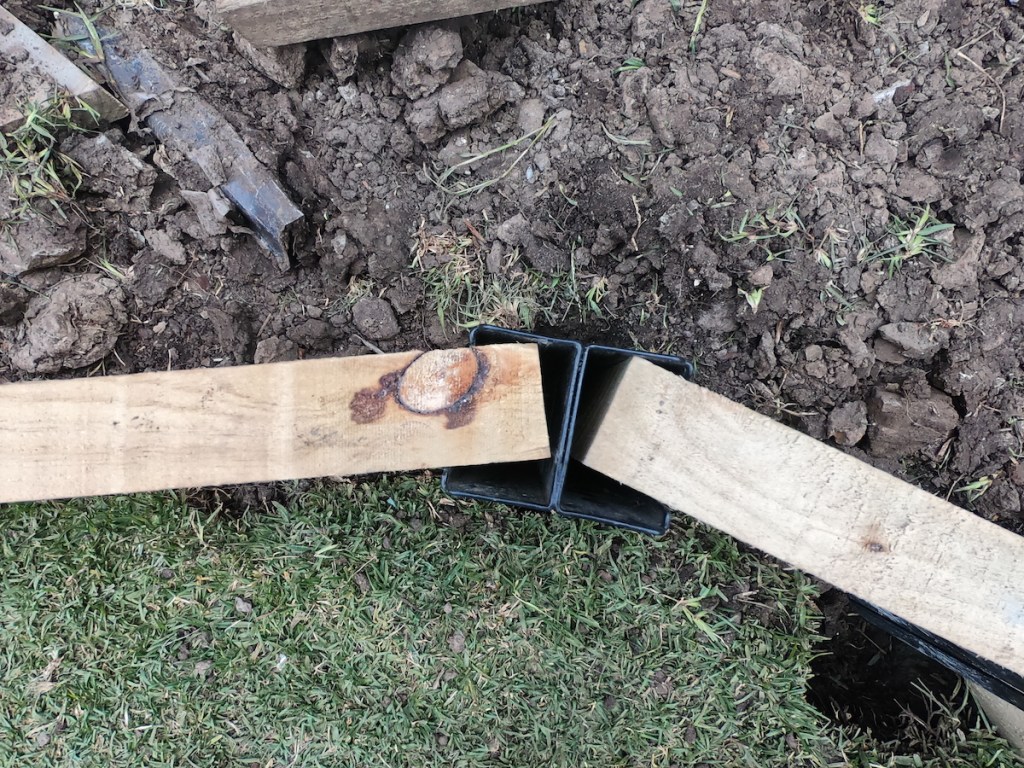
Handy Tip: The Retain-it posts can hold sleepers at 30-degree angles. That means, instead of having a 90-degree corner, you can actually make it appear like a curve/arch.

Actually, we still have a few things to do, but they’re optional. What we have already done so far is a fully functional retaining wall and planter box.
Put that beer back in the fridge!
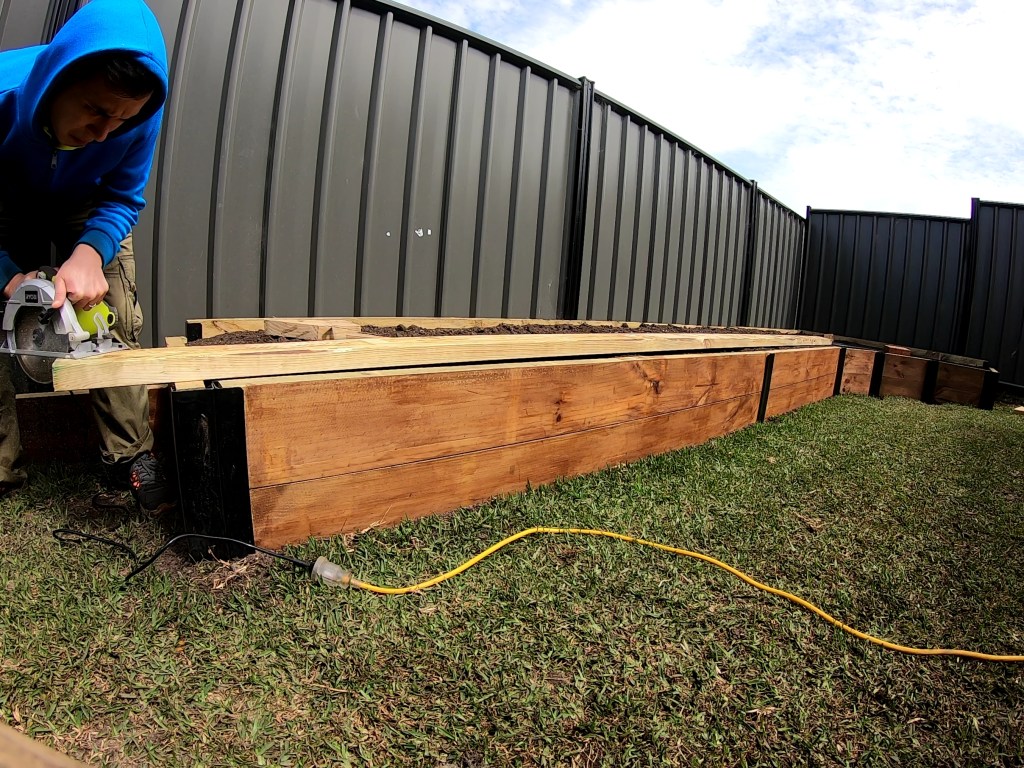
Let’s Cap it Off
The ledge or capping is another story and it has to be the last. It requires a little bit of finesse, some attention to detail, angles (Trigo! MATH!). In my case, that curved section only meant more angles to cut with lightsaber-like precision. Don’t worry, I got away without having to use a protractor. My Trigonometry teacher will be disappointed.
Okay, back to work!
Measure and cut the timber
Pre-drill with a countersink drill

Screw
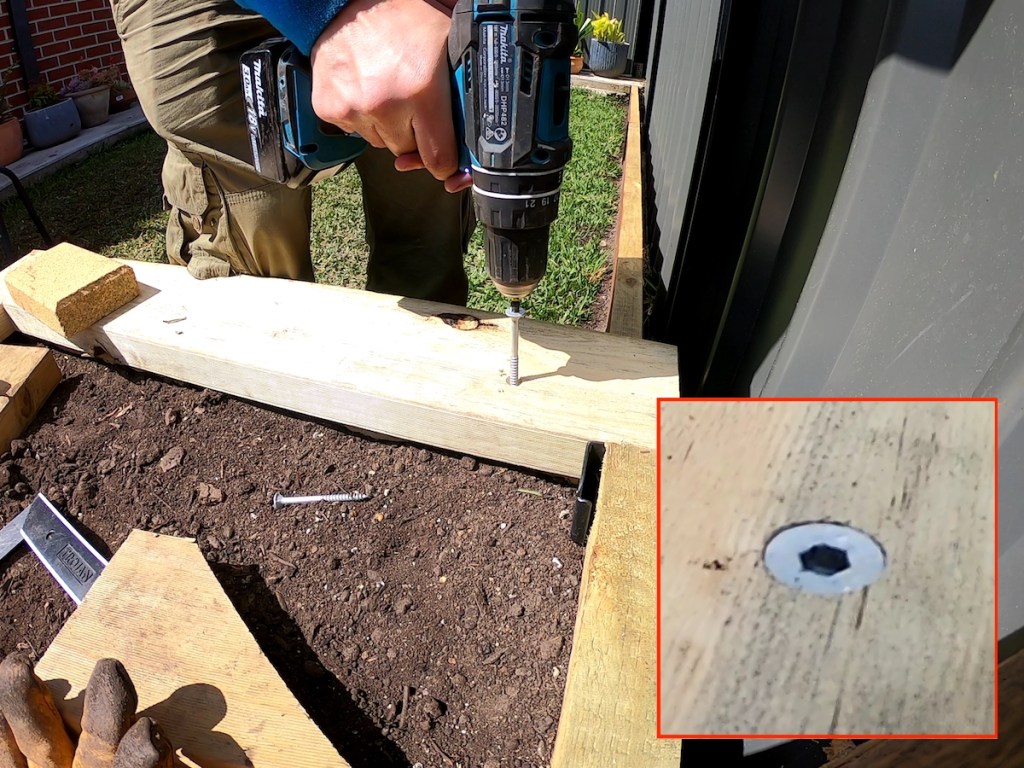
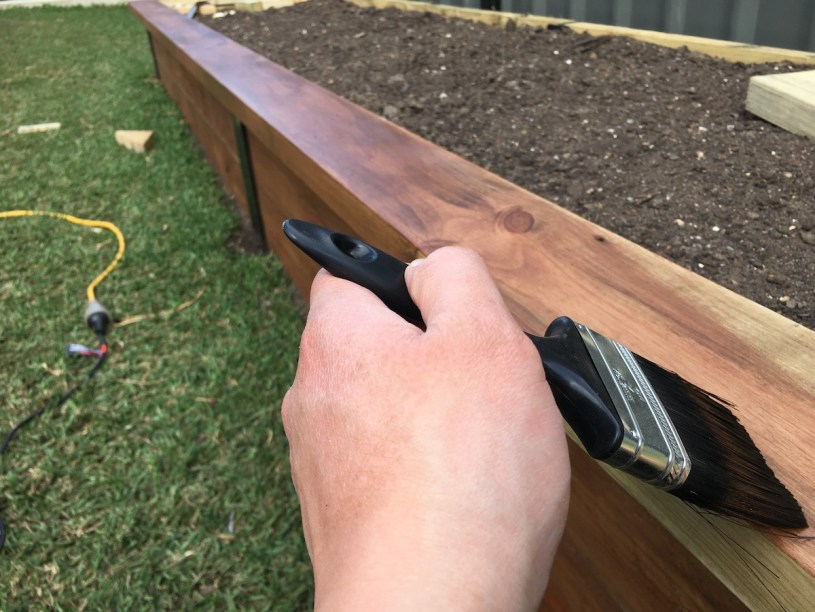
Sand

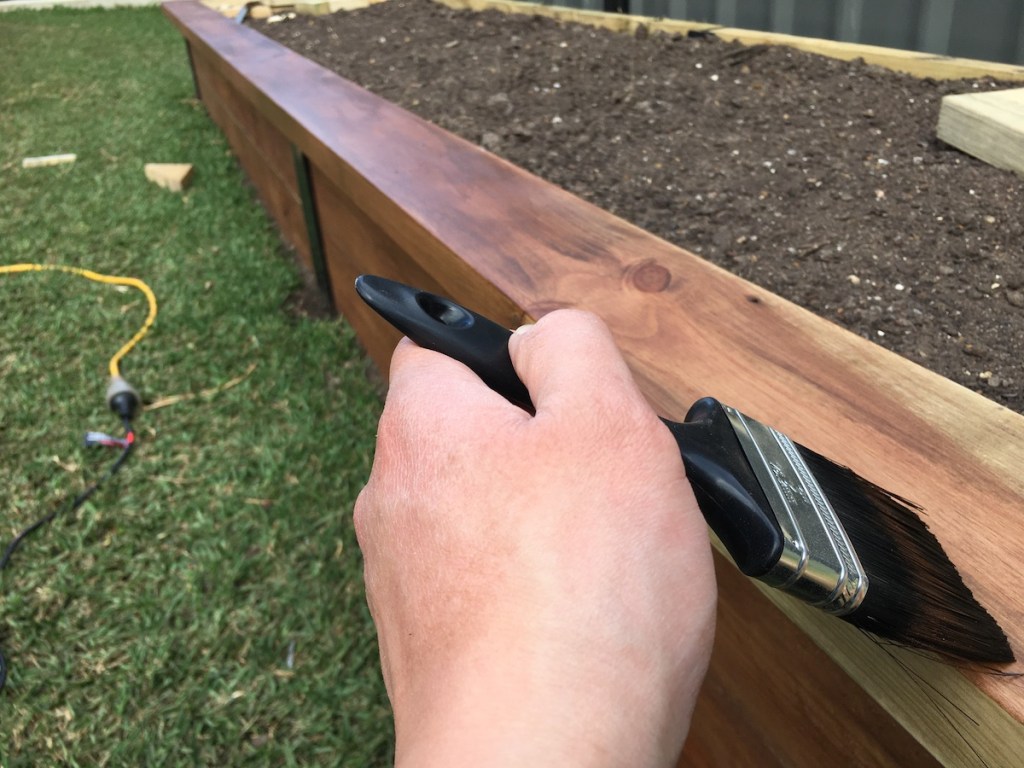
Stain
DONE! Pop that beer open.
Helpful Tips
- A rubber mallet is your best friend when levelling. Well, next to the spirit level of course. Instead of digging a few mm, just hammer through the timber. Very useful for small level tweaks.
- For sleepers at 2m in length or more, I put timber posts in the middle for reinforcement. They still feel strong and robust without it but we don’t want to take chances
- If you have time, use an oil-based stain. In my experience with both oil and water-based, the oil-based ones tend to be easier to work with, and leaves me with a more even finish. Takes too long to dry though, say 24 hours.
- Always be mindful of your posture when lifting (you’ll be doing this a lot) these sleepers. You don’t want to hurt your back just for this project, totally not worth it.
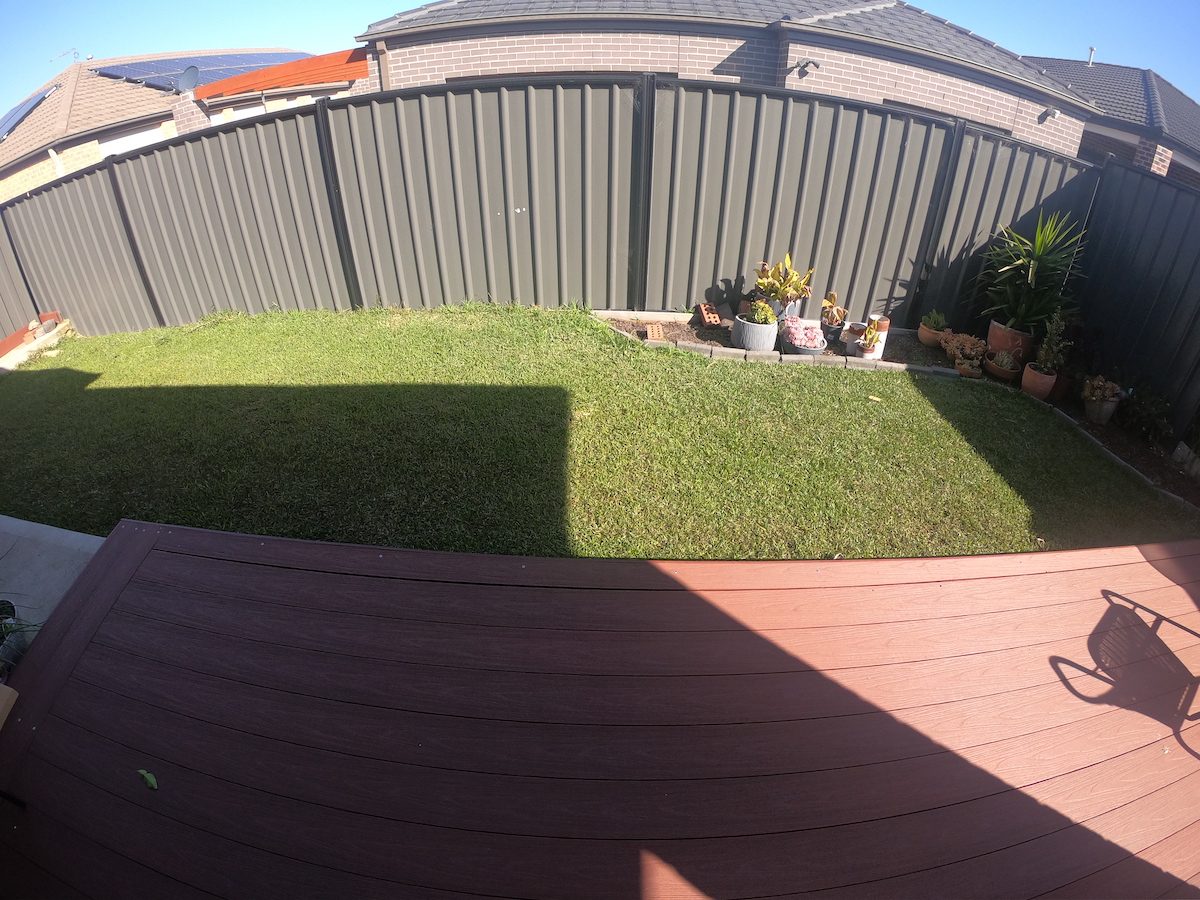
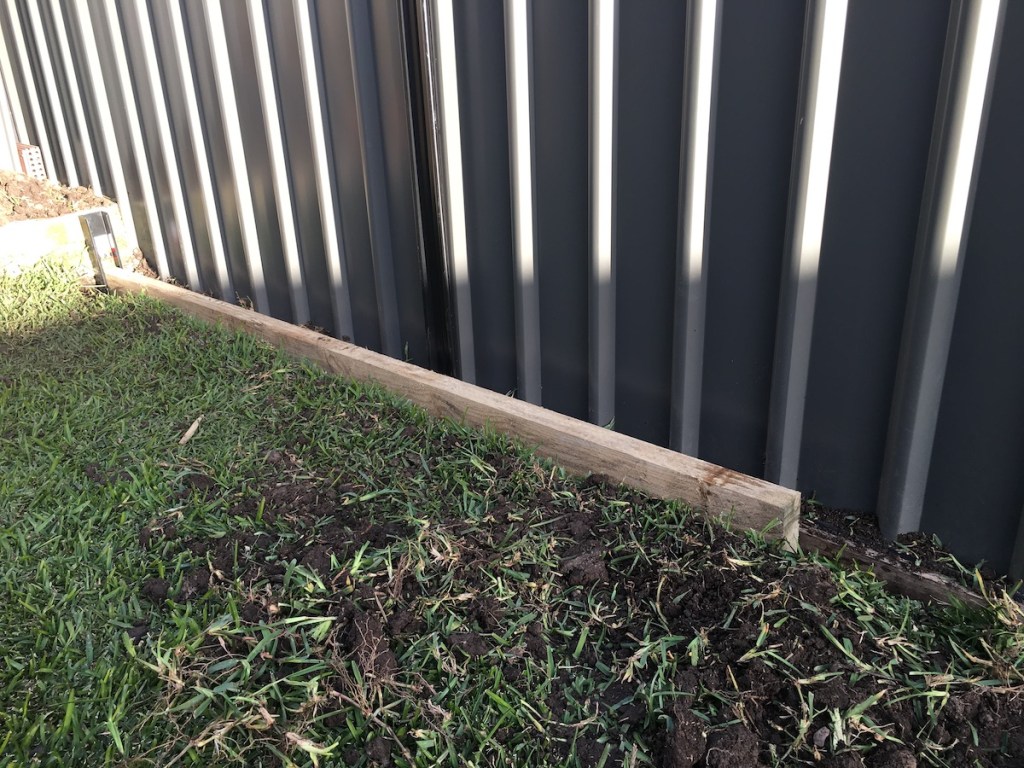
Photos
Here are some before and after photos.
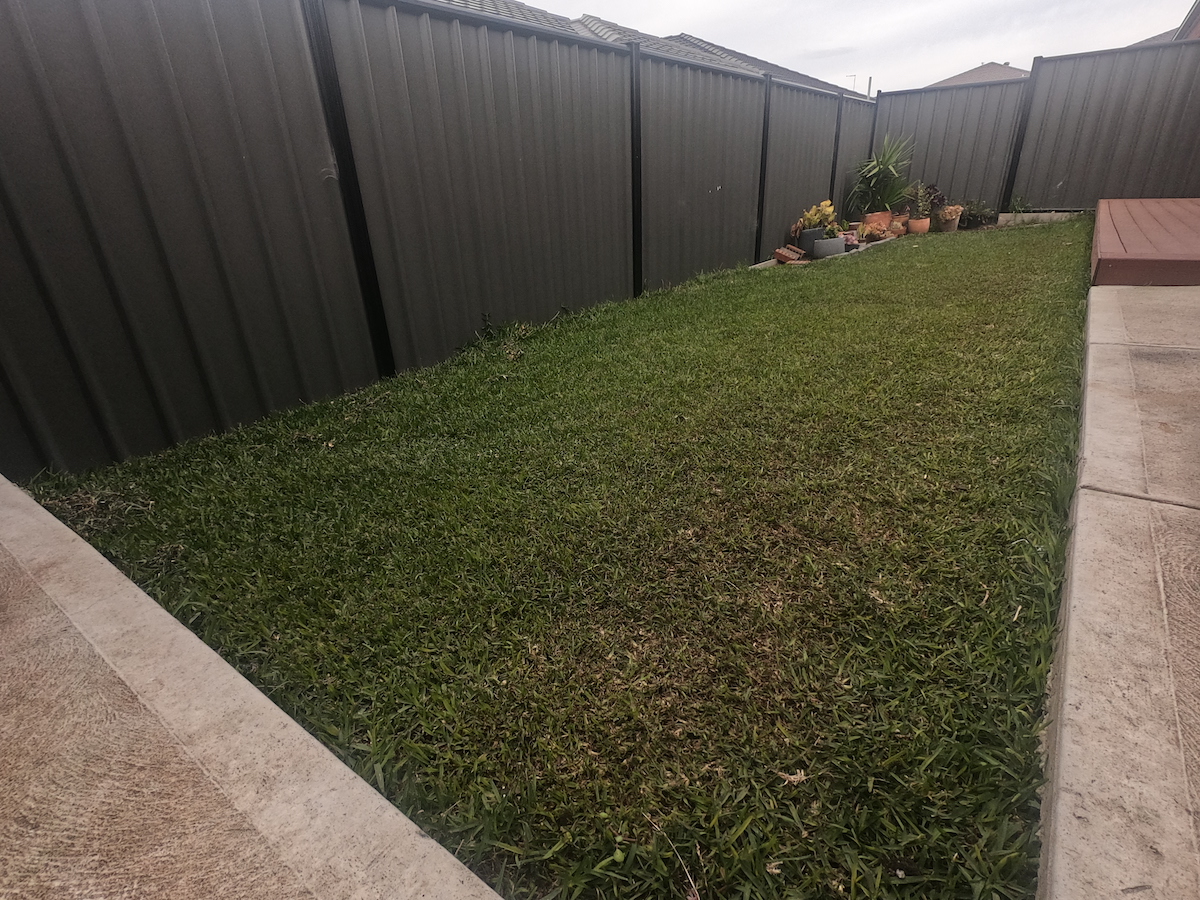

The missus wanted me to publish this once she’s done planting. She’s probably right, plants make a huge difference and would definitely inspire you more. I cannot wait that long though, the world needs my DIY guide! 😀
What more can I say, give this project a shot. Something this size is not really a walk in the park but it’s so fulfilling in the end.
Like everything we do in life, there will be challenges along the way, but just bite the bullet and don’t forget to have fun.
See you on the next build!

Im a proud friend!!!
When can we party party???
Hehe next how to pls coz the world needs it! And yes weve got lots of beers..
The missus must be very very happy! Hahaahahhahaha
Nice one charles. Na inspired ko hehe
LikeLiked by 1 person
Thanks madam! And thank for sharing.
The missus is hagok already.😀
Coronita soon!😀
LikeLike
For the long term, does sleeper will be sinked due to soil movement as there is no screw.
LikeLike
Yes, some sections are actually starting to sink. Good call.
The 2 longest sections in there have posts in the middle, they’re screwed to the post so they are fine.
I can suggest the timber connectors in Bunnings, they are perfect for holding timbers together, I have used them in other projects. Also, I would strongly suggest you put liners just to protect the timber. I got lazy tbh. 🙂
LikeLike
Love it, thanks for the extended detail on building a retaining wall. It’s awesome, I really like this post and I really like how your project turned out, thanks for sharing!
LikeLike
Thank you!
LikeLike